Account Status
To start, you must have a valid account which has been reviewed. If you do not have an account or your account is still under review, please reach out to your representative for assistance.
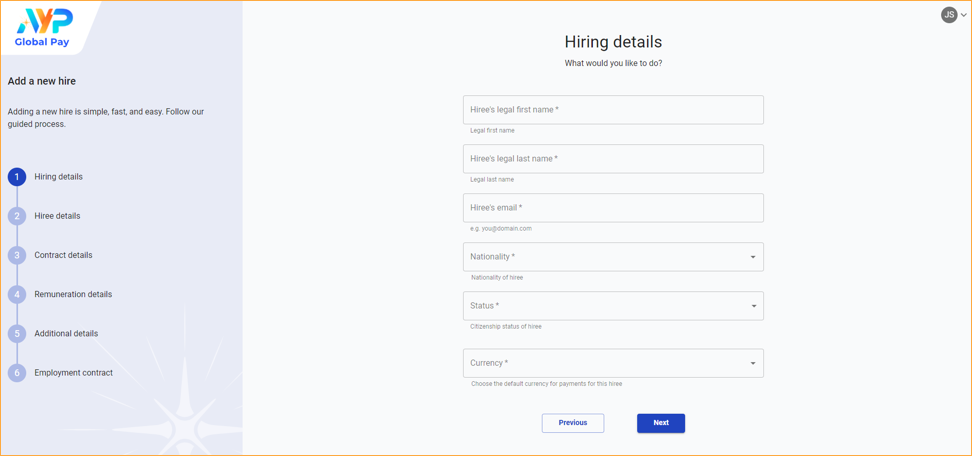
Fill In Hiring Details
- Fill the Hiring Details form fields
- Click Next to save your progress


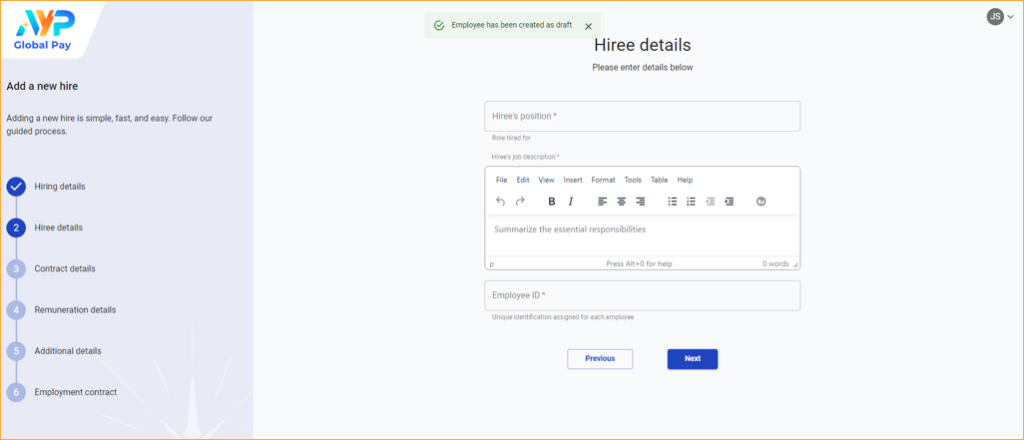
Fill In Hiree Details
- Employee has been created in draft mode, giving you the flexibility to return at your convenience and seamlessly pick up where you left off.
- Fill the Hiree Details form fields
- Click Next to save your progress
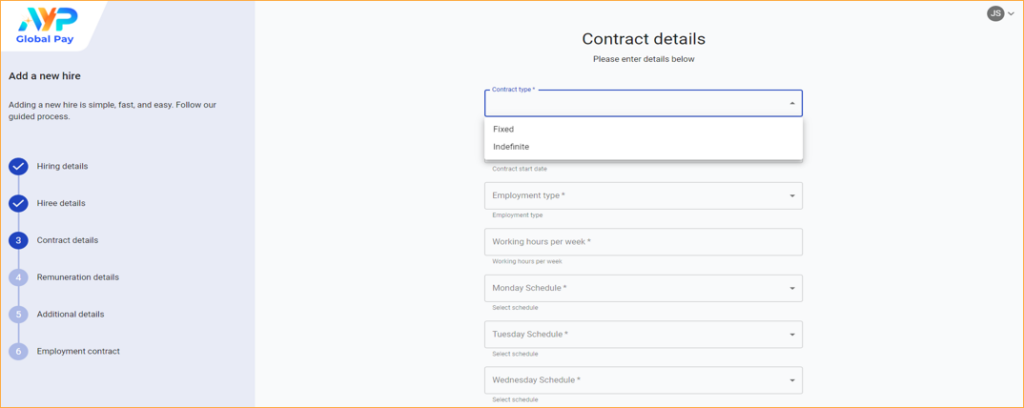
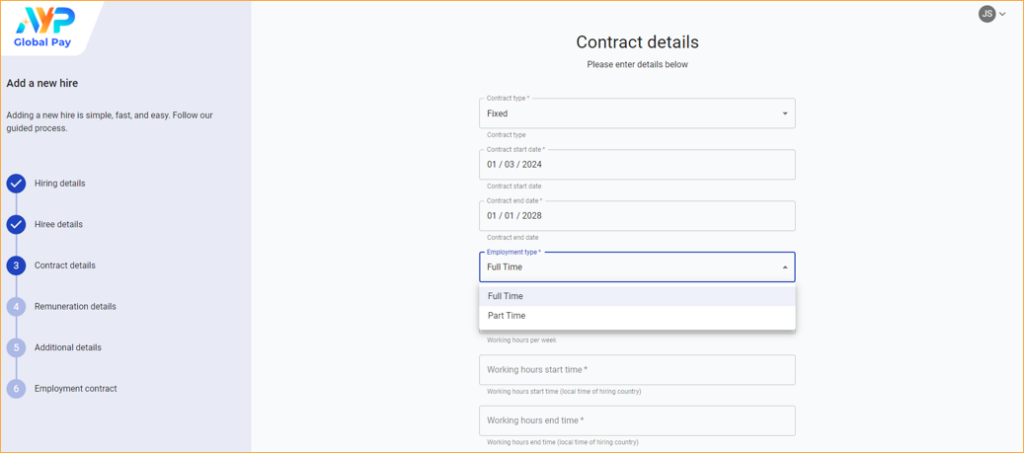
Fill In Contract Details
Step 1
- Fill in the Contract Details form fields
- Select Fixed option for Contract Type if the employee is on a contract which has a start date and end date
- Select Indefinite option for Contract Type if the employee is working as a full time position.
Step 2
- Select Full Time option for Employment Type to set the start and end time
- Select Part Time option for Employment Type to define the total working hours
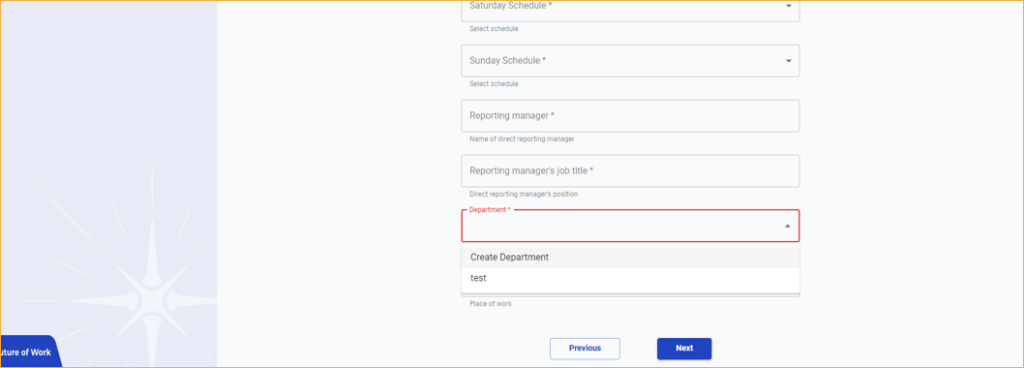
Step 3
- The Department field to enrol the new employee to a specific department
- Click on Create Department to add more department to the option list.
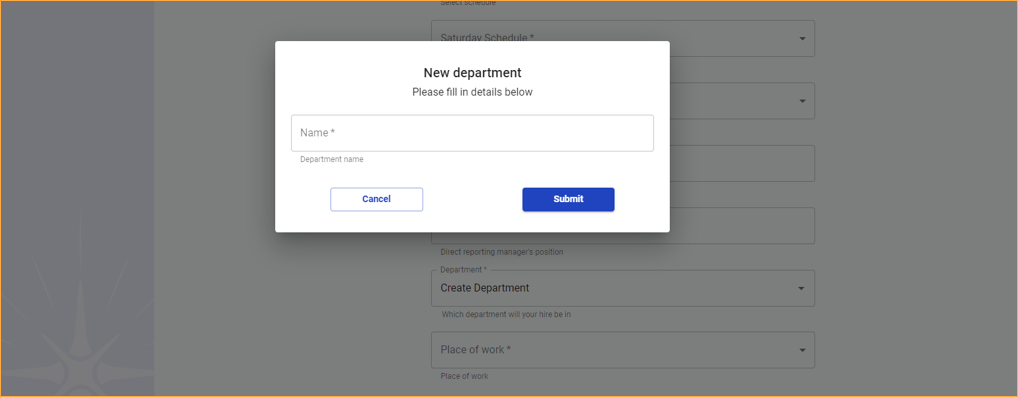
Step 4
- Add a new Department Name
- Click Submit
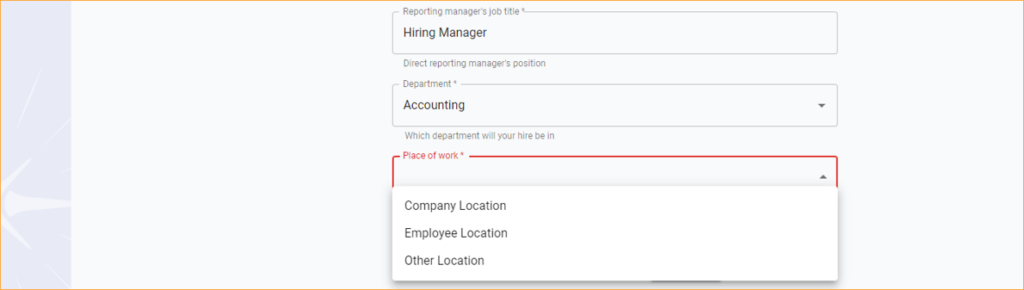
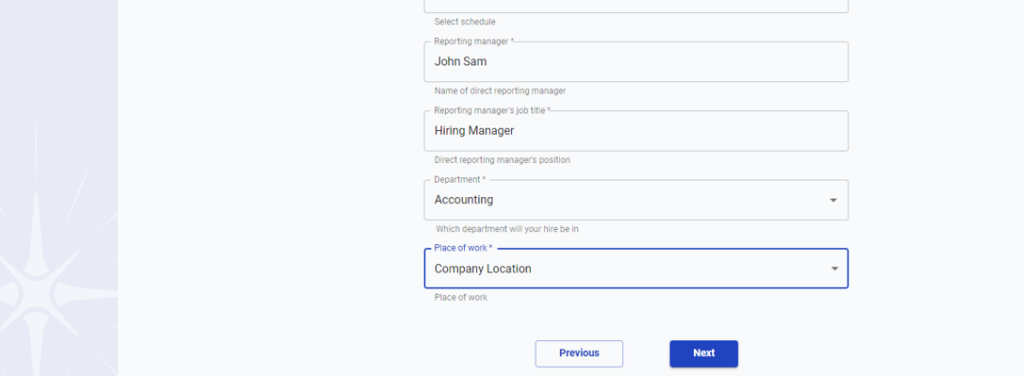
Step 5
- Select Company Location option for Place of Work to set the location of work as the current company address.
- Select Employee Location option for Place of Work to set the location of work as remote.
- Select Other Location option for Place of Work to add a new location of work as the address.
Step 6
- Fill all the fields in the section and click Next to save your progress
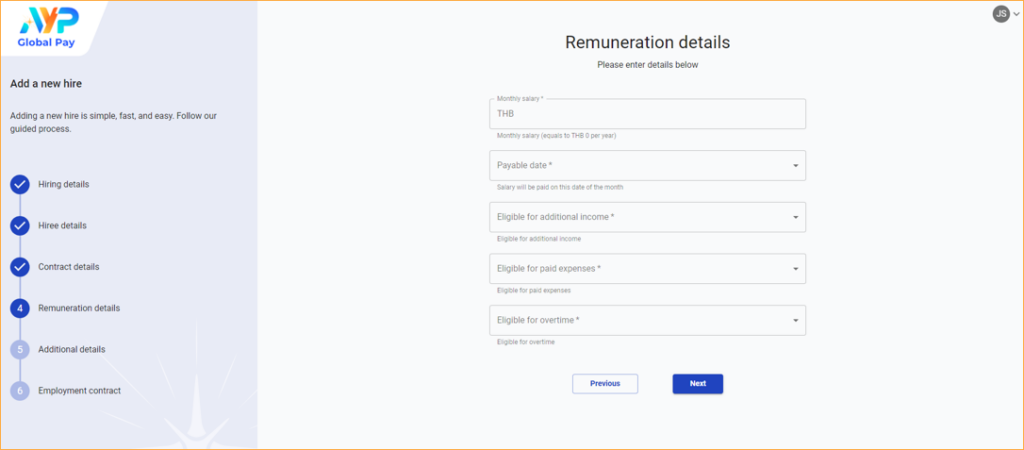
Fill In Remuneration Details
Step 1
- Fill the Remuneration Details form fields
- Click Next to save your progress
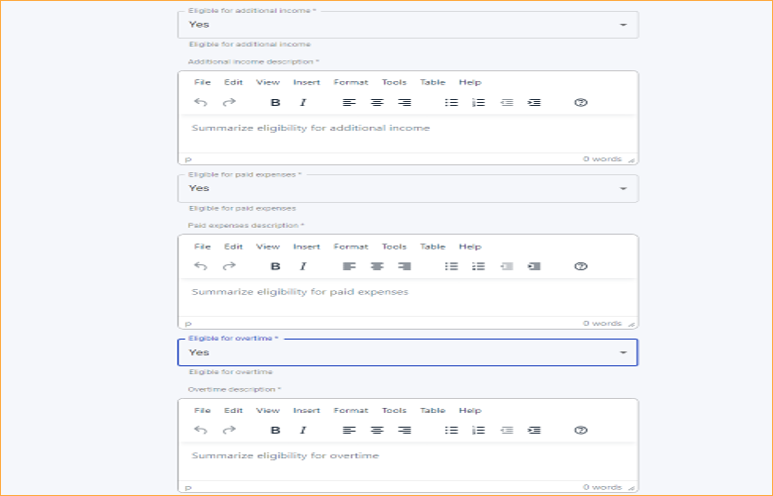
Step 2
- If select Yes for Eligible for Additional Income, do specify the income description
- If select Yes for Eligible for Paid Expense, do specify the income description
- If select Yes for Eligible for Overtime, do specify the income description
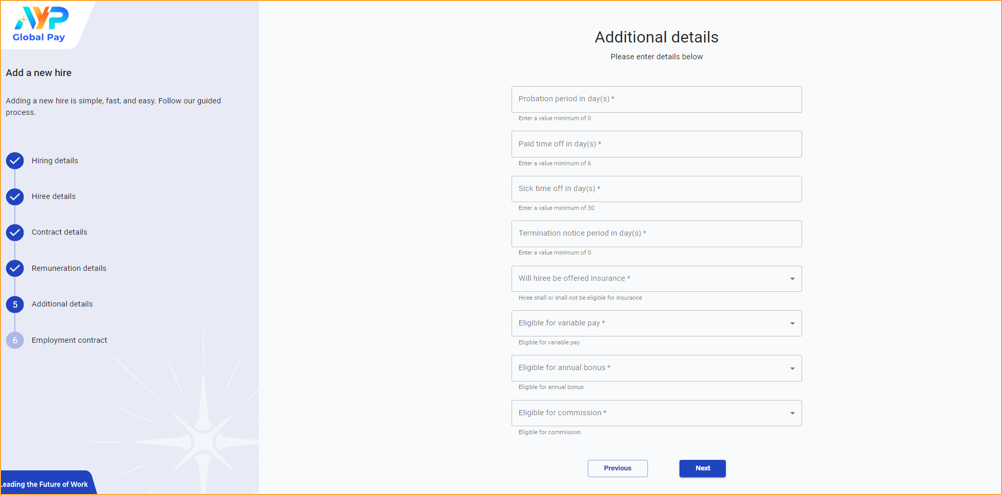
Step 3
- Fill the Additional Details form fields
- Click Next to save your progress